Time for some landscaping
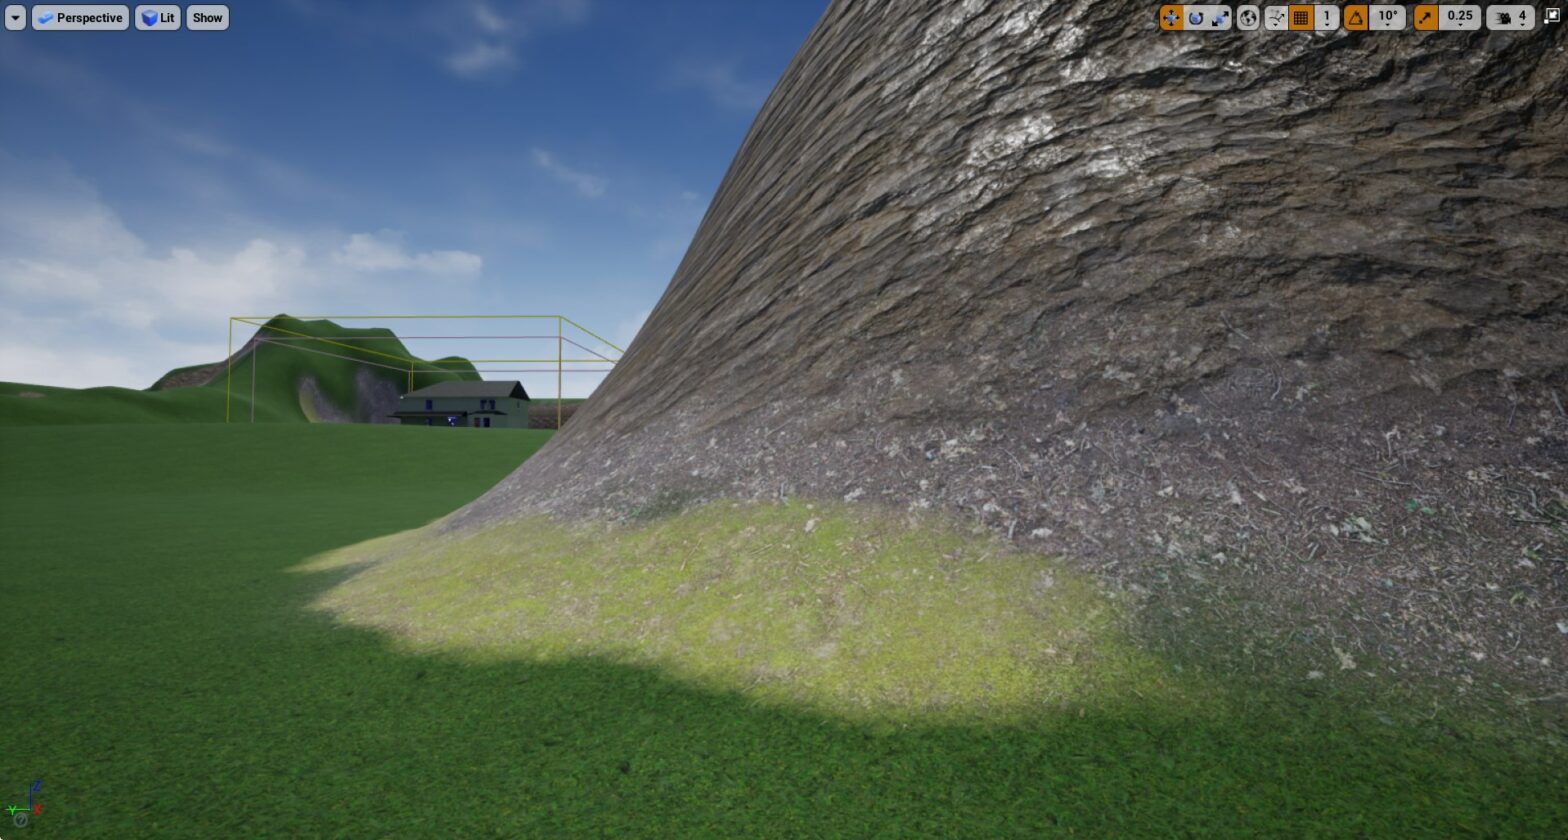
Week 4 is primarily focused on creating a landscape for our player to traverse. To do this, I am using Unreal Engine’s built in landscape tool. This tool creates a rectangular grid of squares that can be manipulated via a sculpting and painting tool. This allows me to change the landscape’s physical geometry and appearance.
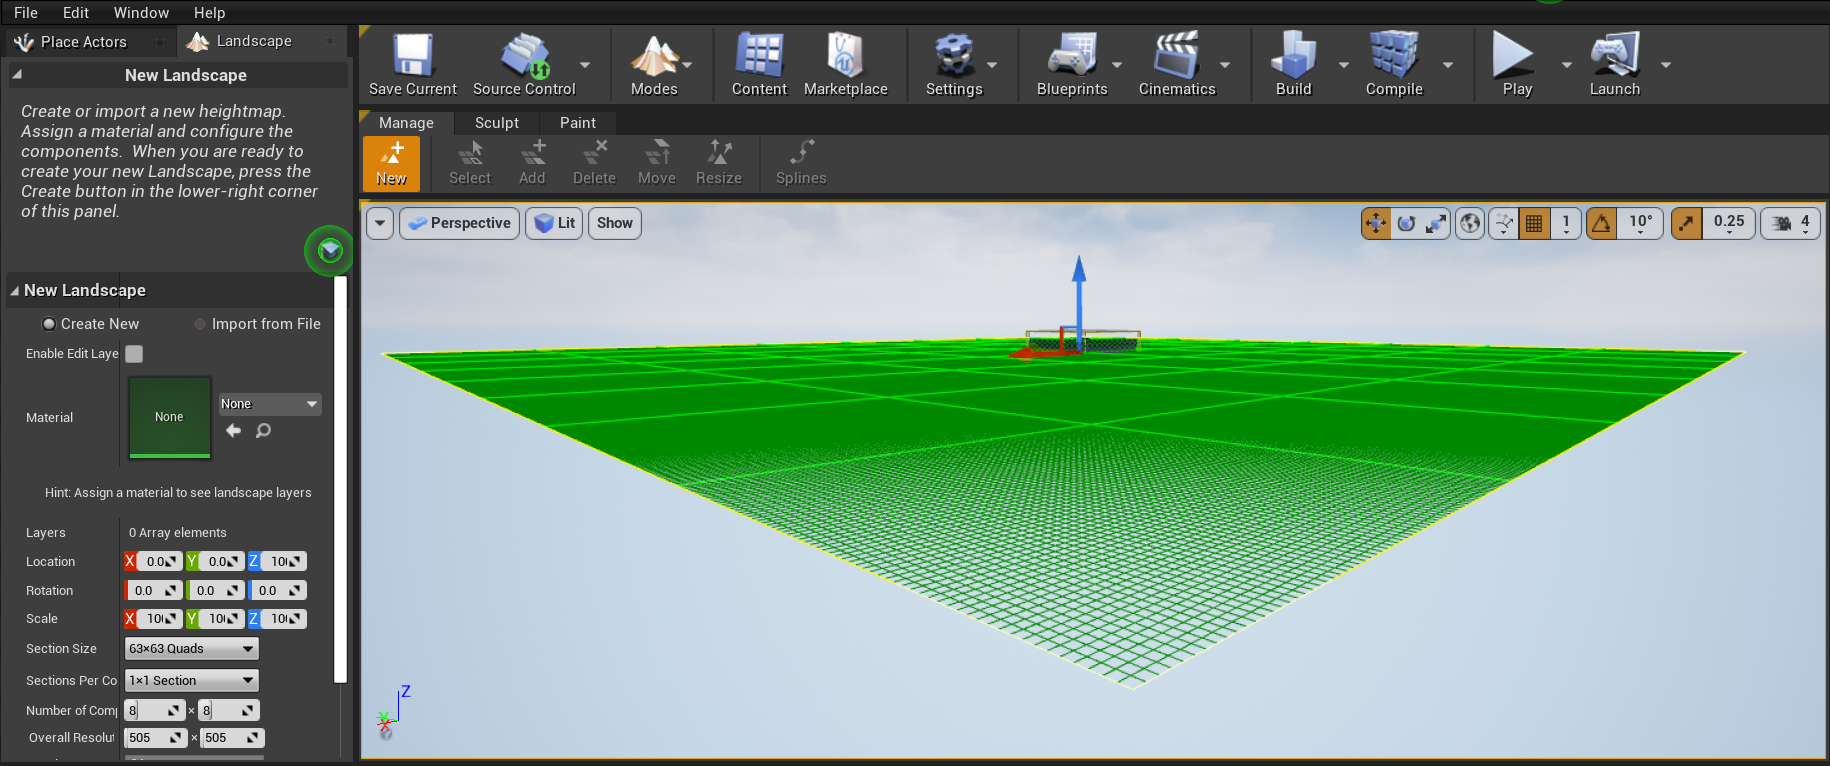
You can sculpt the landscape manually using UE tools or you can import a pre-existing heightmap.
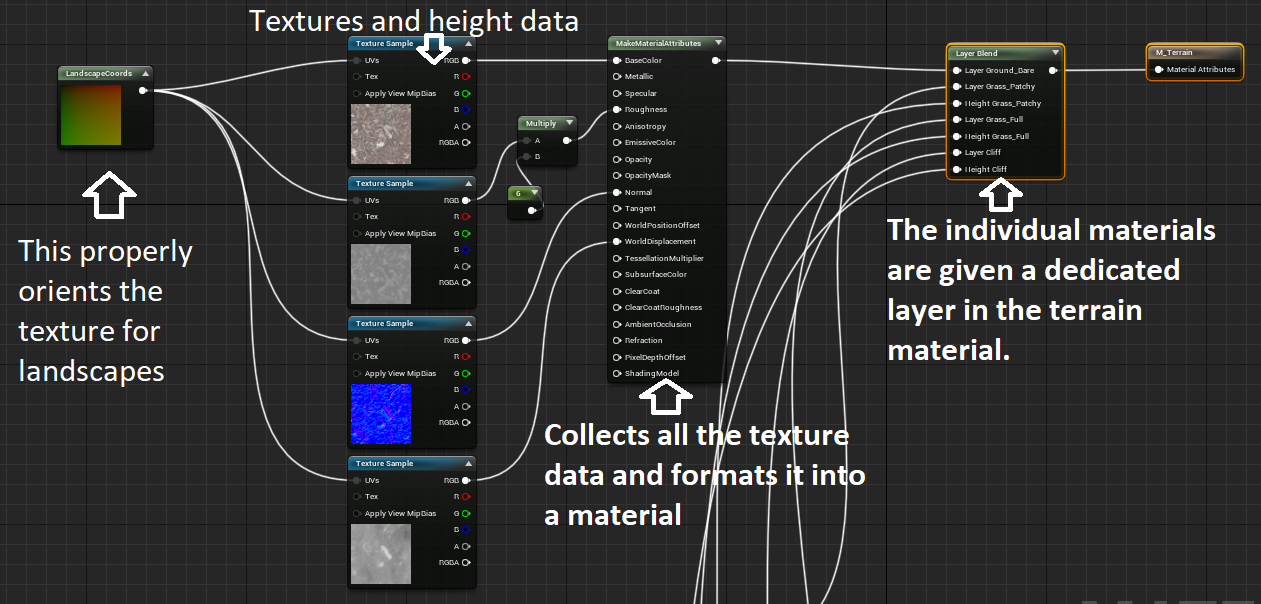
In order to paint on the landscape, I needed to create a special material using a “Layer Blend” node and a “LandscapeCoords” node.

Time to refine the landscape layout
In the week two update, I teased this picture showing my rough concept of the desired landscape:
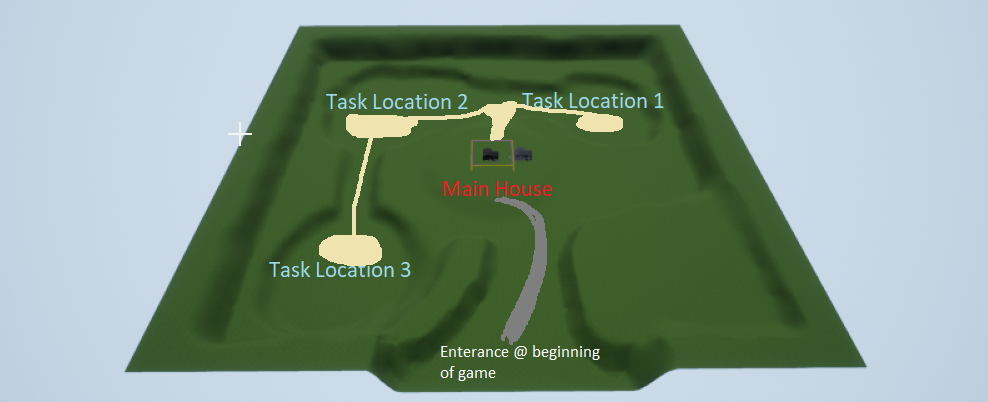
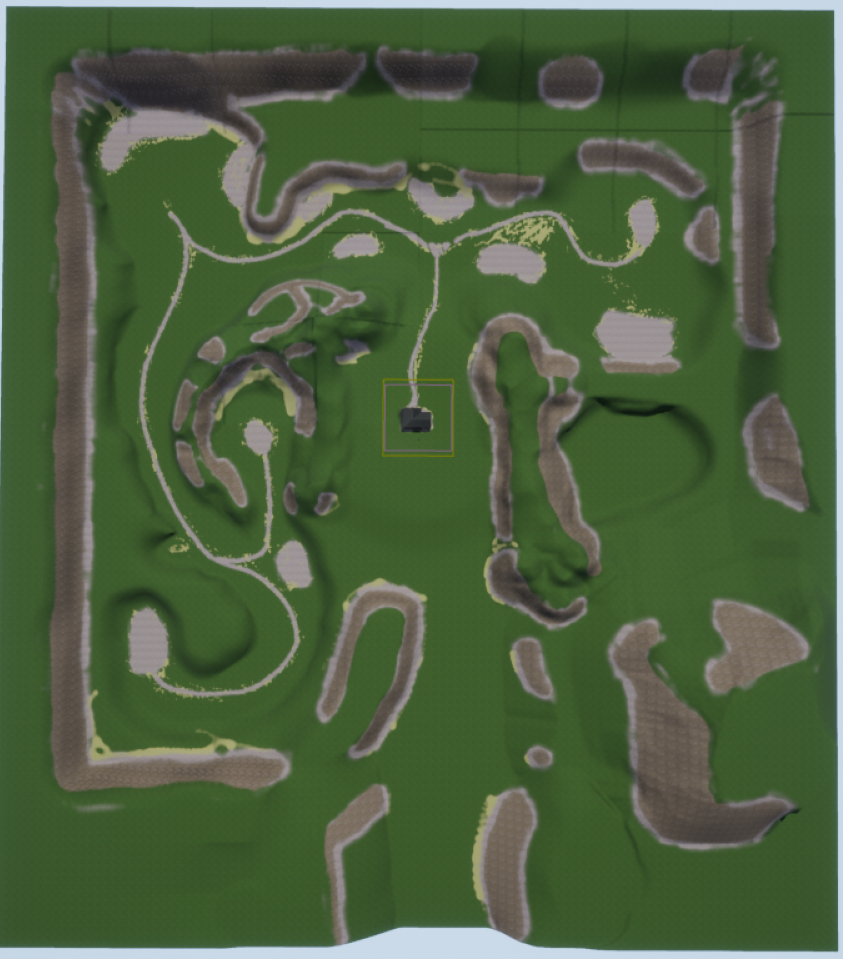
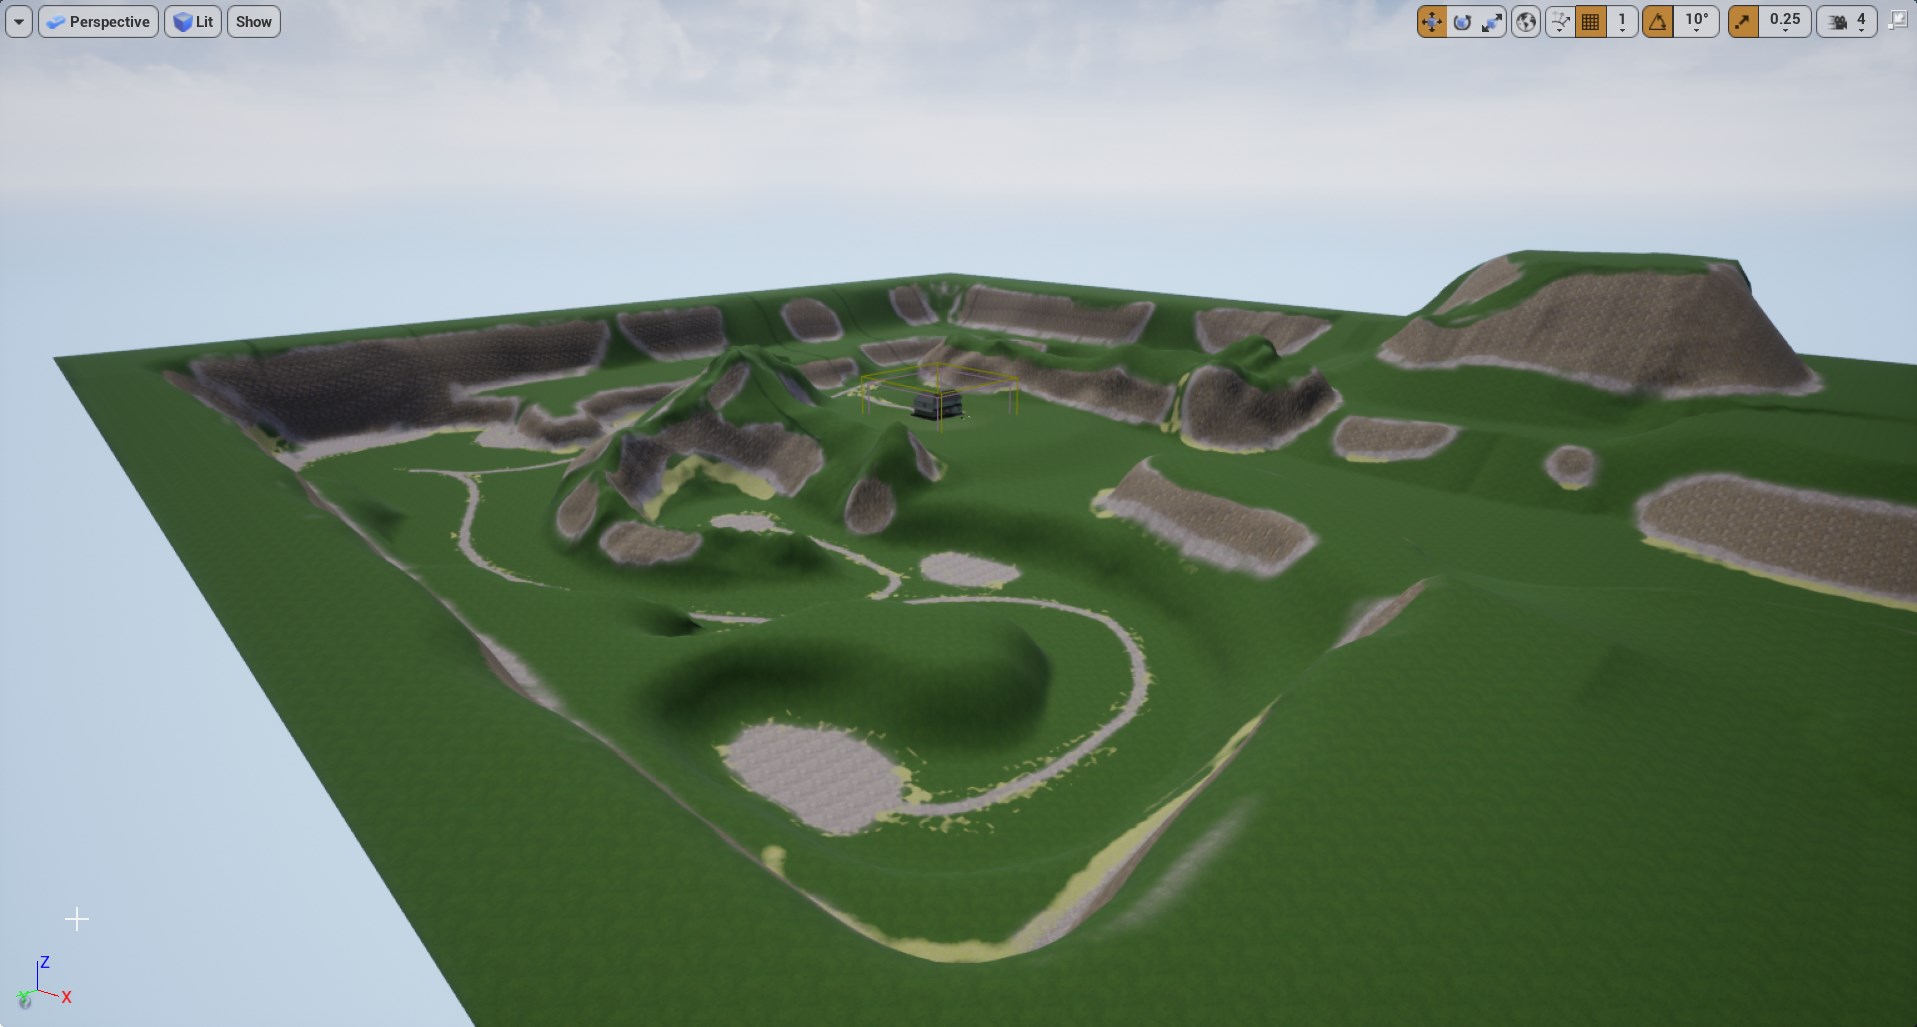
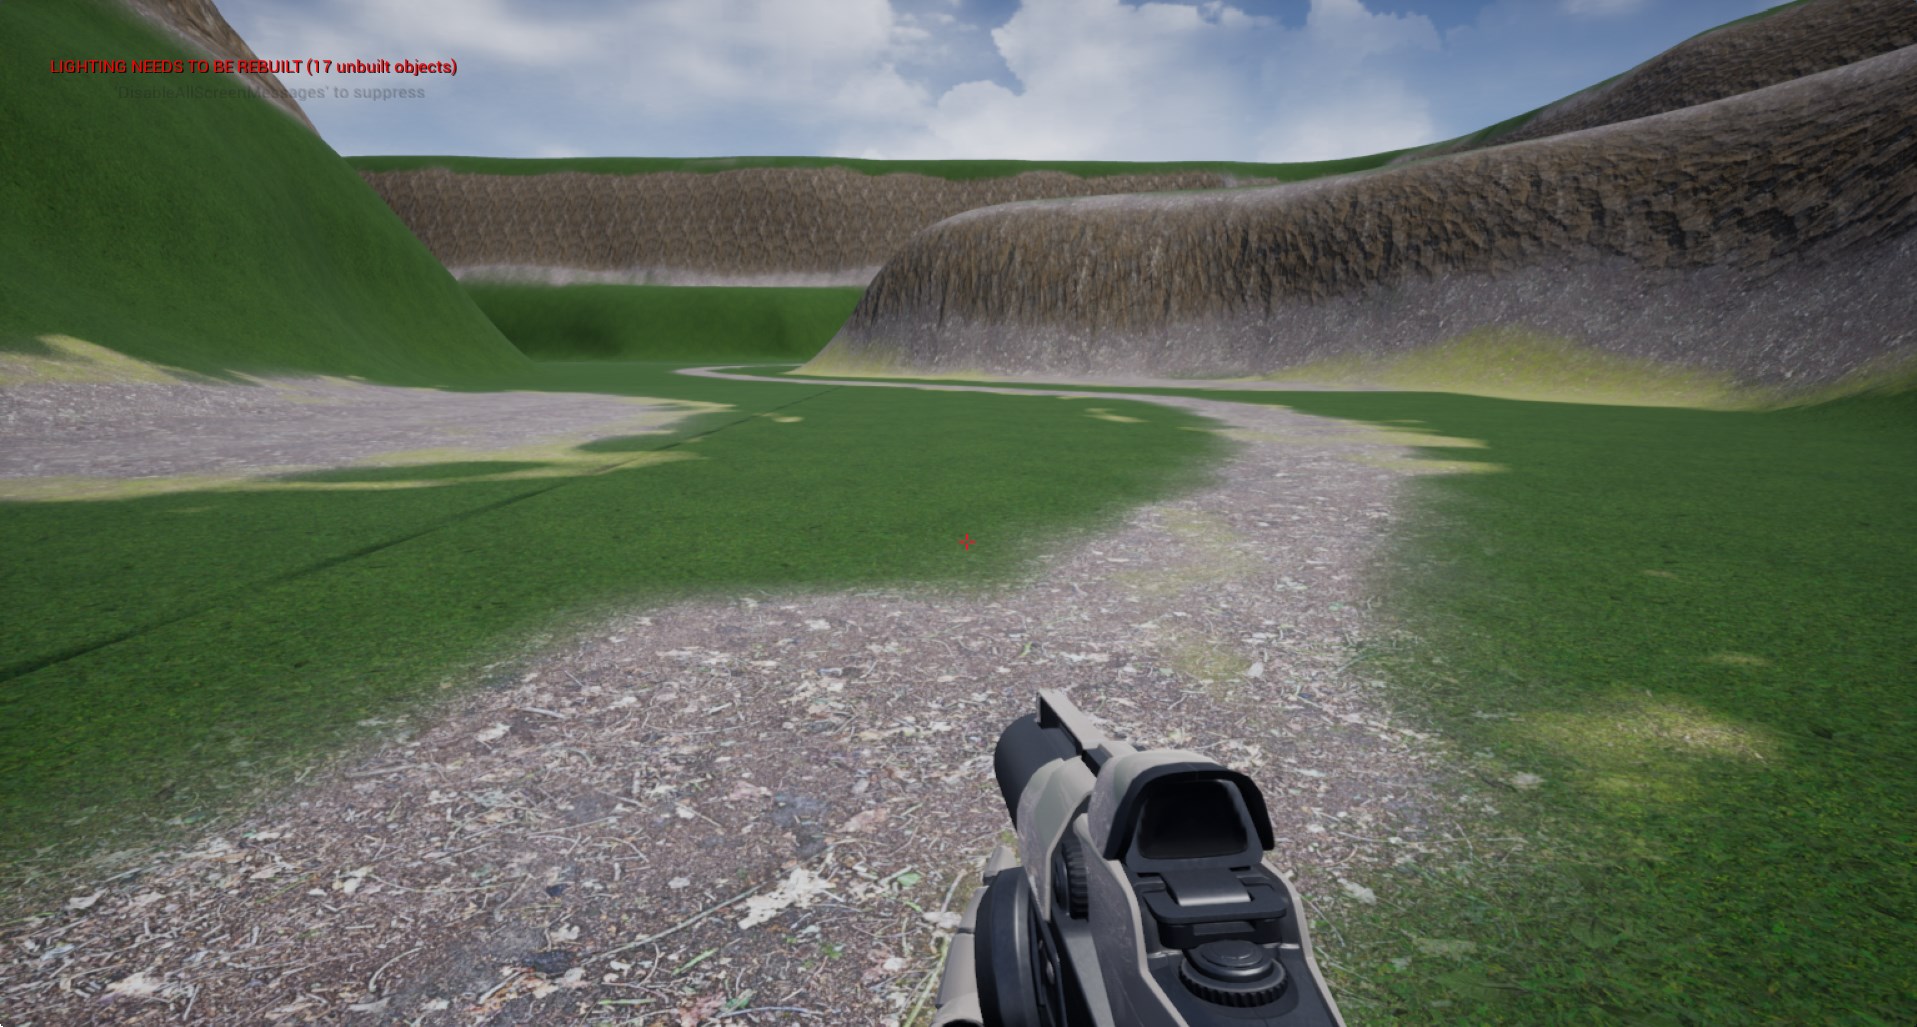
Using this as a reference, I went back and added some finer detail to both the surrounding landscape and the walkways between locations. I also added some simple texturing to give the appearance of steep cliff sides and rocky terrains.
Next week I will be focusing on major game mechanics. These will mostly consist of interactive elements. The player will be required to interact with these objects to survive.
Thanks for reading!
