Introducing… Hammer
Recently, I was lucky enough to be given an early access developer key to S&box, which is a spiritual successor to Garry’s Mod. S&box uses the latest version of Source 2. As S&box’s API is still in heavily development, I decided to learn its map editor, Hammer. Two of the most helpful tutorial videos I found on the subject: short and concise videos by Hosomi and the longer, more open ended series by The Eagle One Development Team.
Despite never using the original Hammer, I found myself quite at home using S2 Hammer. I have read online that Hammer is now much more flexible and can even be used as a simple 3D modeling software.
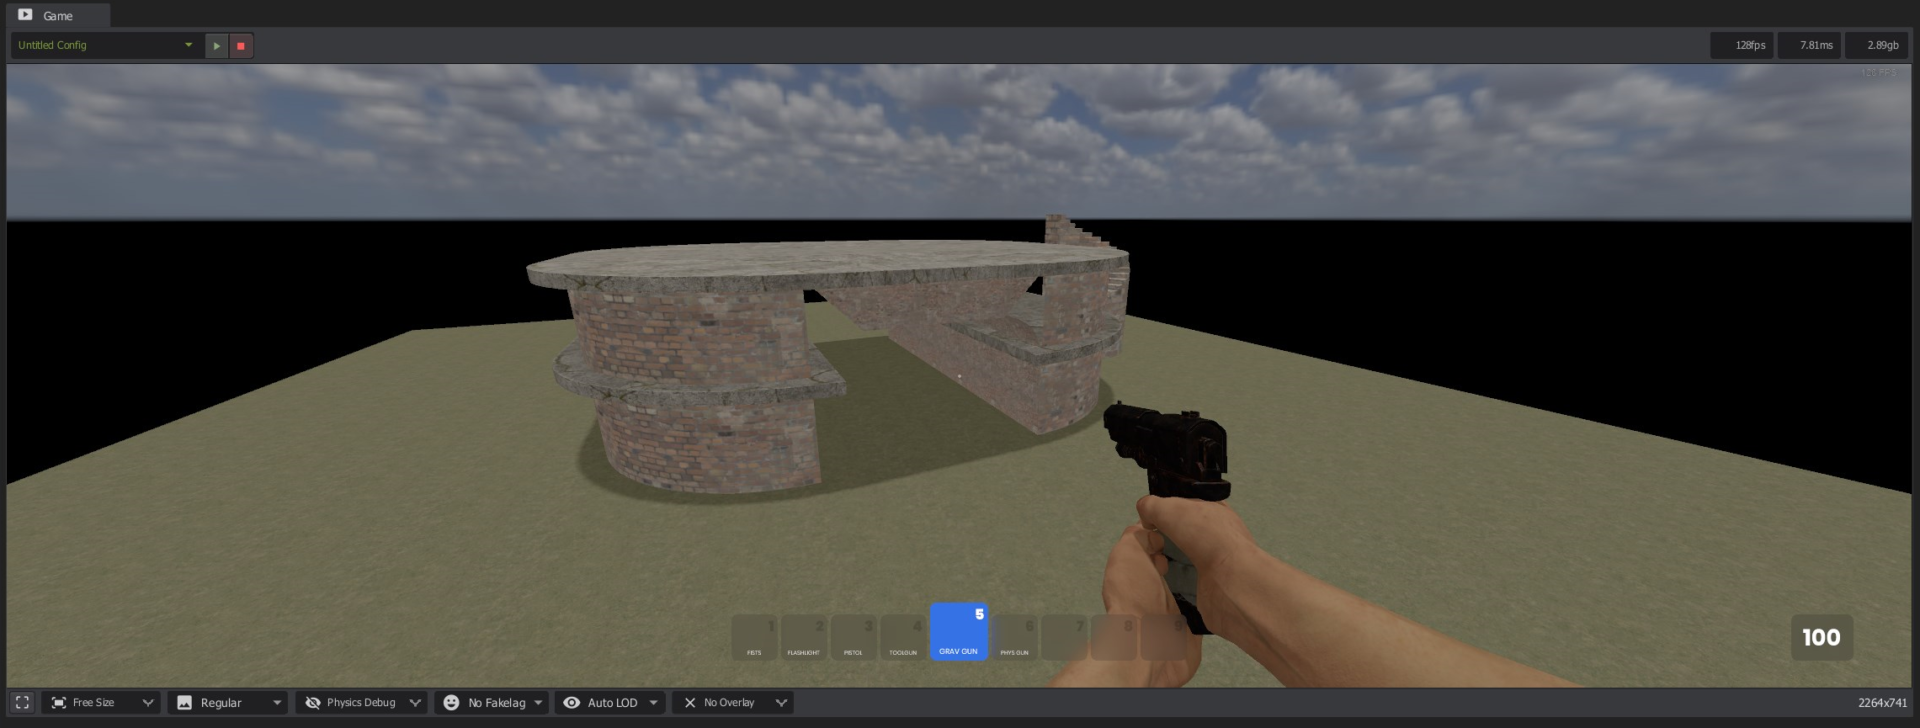
Hammer supports basic modeling features such as extruding, scaling, bevels, loop cuts, ring selection, etc. Sometimes it almost feels like I am using Blender, but there are many times where I feel held back by hammer. For example, Loop cuts require each perpendicular edge to be selected before creating the loop cut. Blender detects these edges automatically and makes the process much faster. Methods might exist to avoid problems like this, but I am still learning.
Anyways, I was able to create some neat little block out props, such as this power transformer.
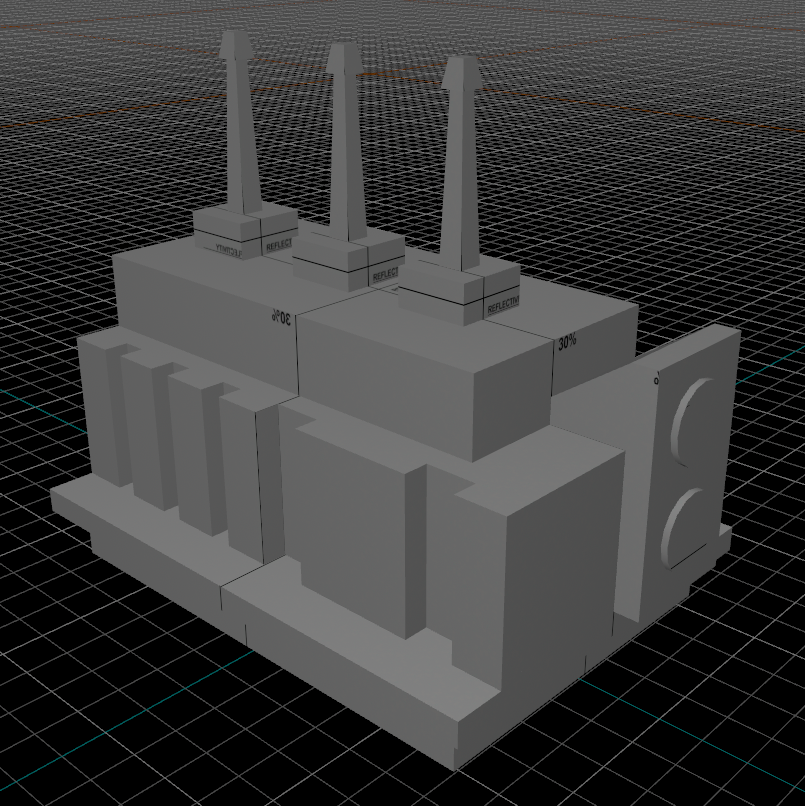
Unlike Blender, hammer has a great grid system that makes inorganic objects really easy to make with minimal effort. It makes set dressing fast and easy. I can then later come back with a more realistic model created in Blender.
Let’s get to the Dam map
My first real attempt at creating a map in Hammer is sb_dam (which stands for S&box_dam. A callback to source 1 naming schemes). I want to create a map that has an industrial feel with a large environment surrounding it. To do this, I took inspiration from the Hoover Dam.

I loved the idea of the player looking up and seeing a massive concrete structure while being surrounded by cliffs and massive industrial equipment.
I also like the surreal nature of this massive water pipe:
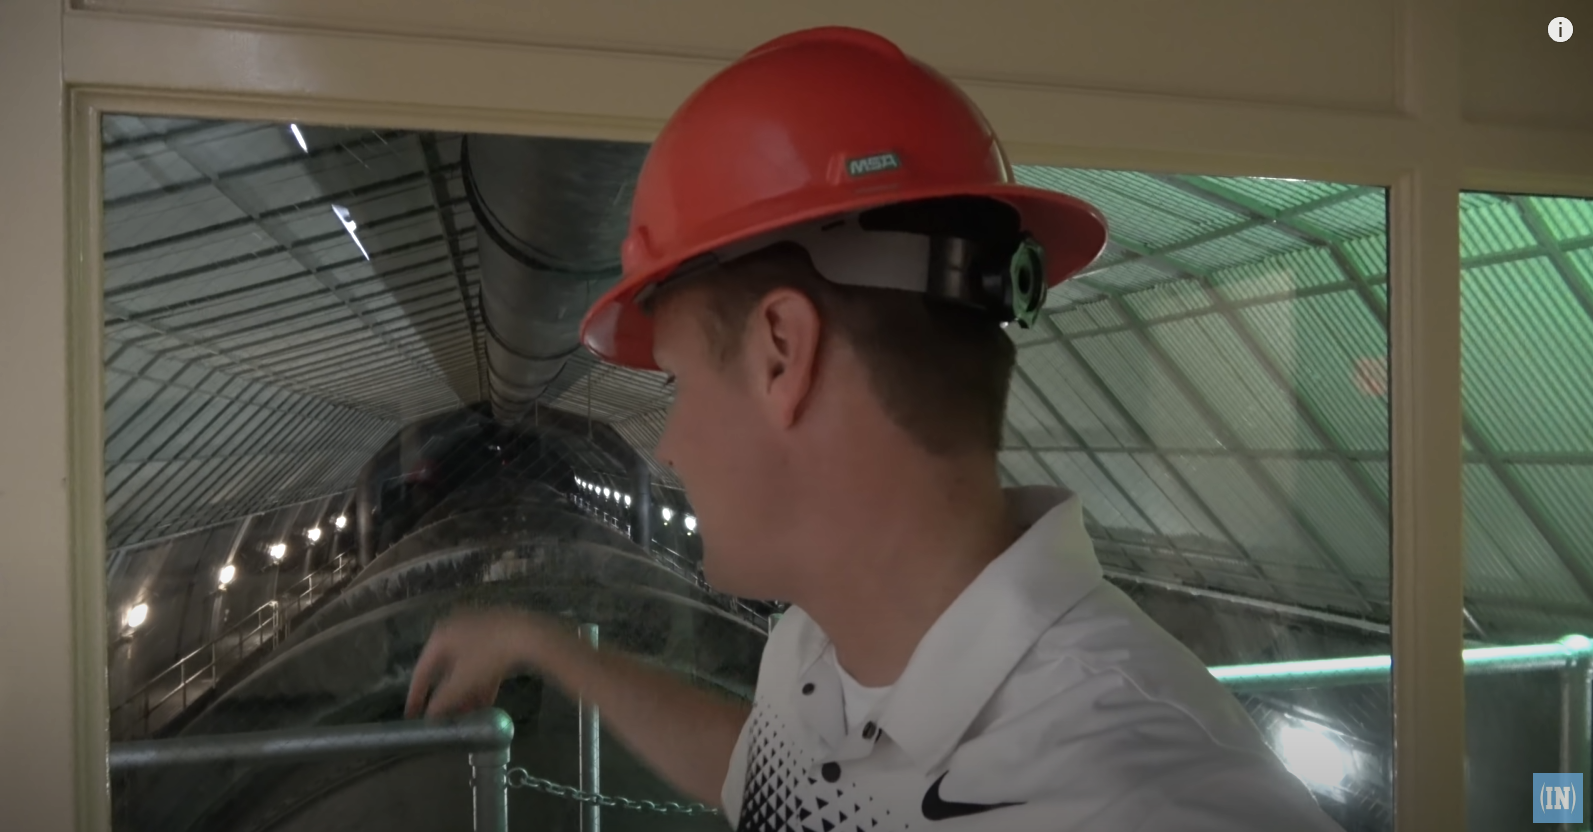
Look at how massive that pipe is! Throw some subtle ambient noise in there and you get some great world building.
The plan
I used a web app from draw.io to create the concept for the map. It’s meant for diagrams and flow charts, but I think that it works great for the grid based nature of Hammer. The text might be hard to read, so you can click the image to get a better look.
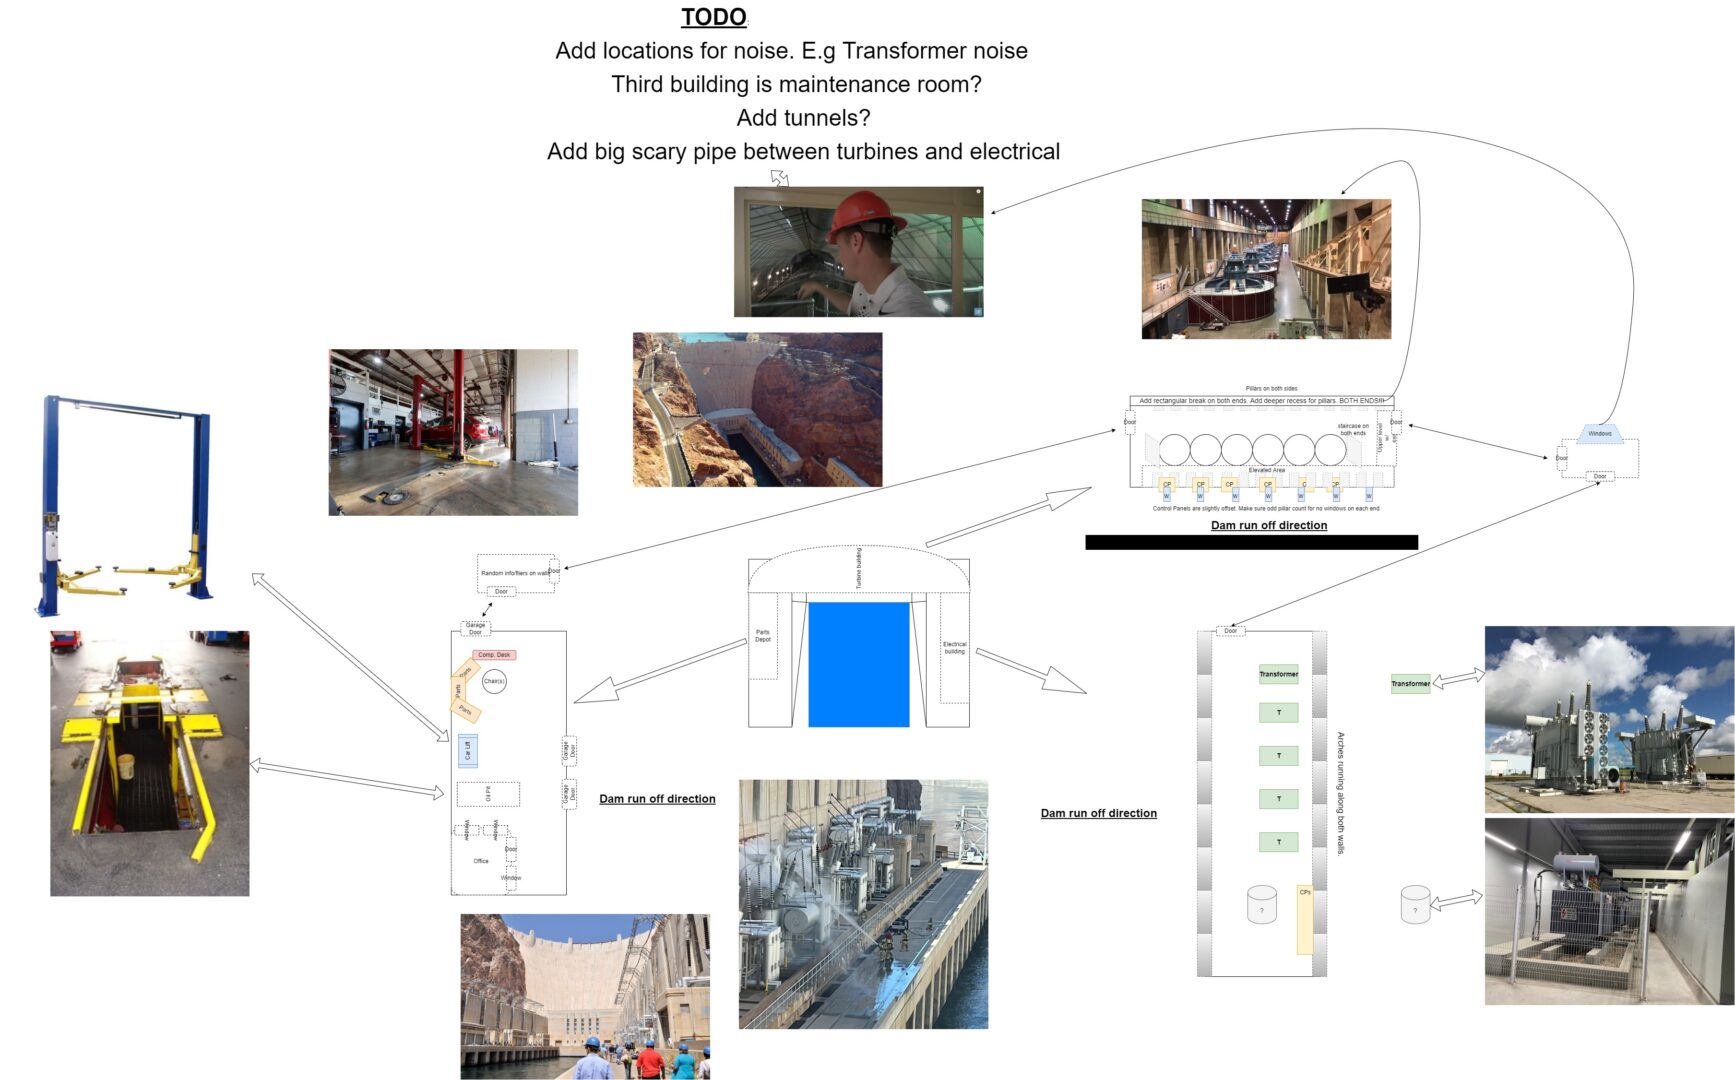
I loved the look and feel of the large turbines spinning away. I ended up adding fewer turbines than what is in the reference image, but I think it is for the better. It would take too long to traverse that section of the map if that many turbines were present.
What has been done so far
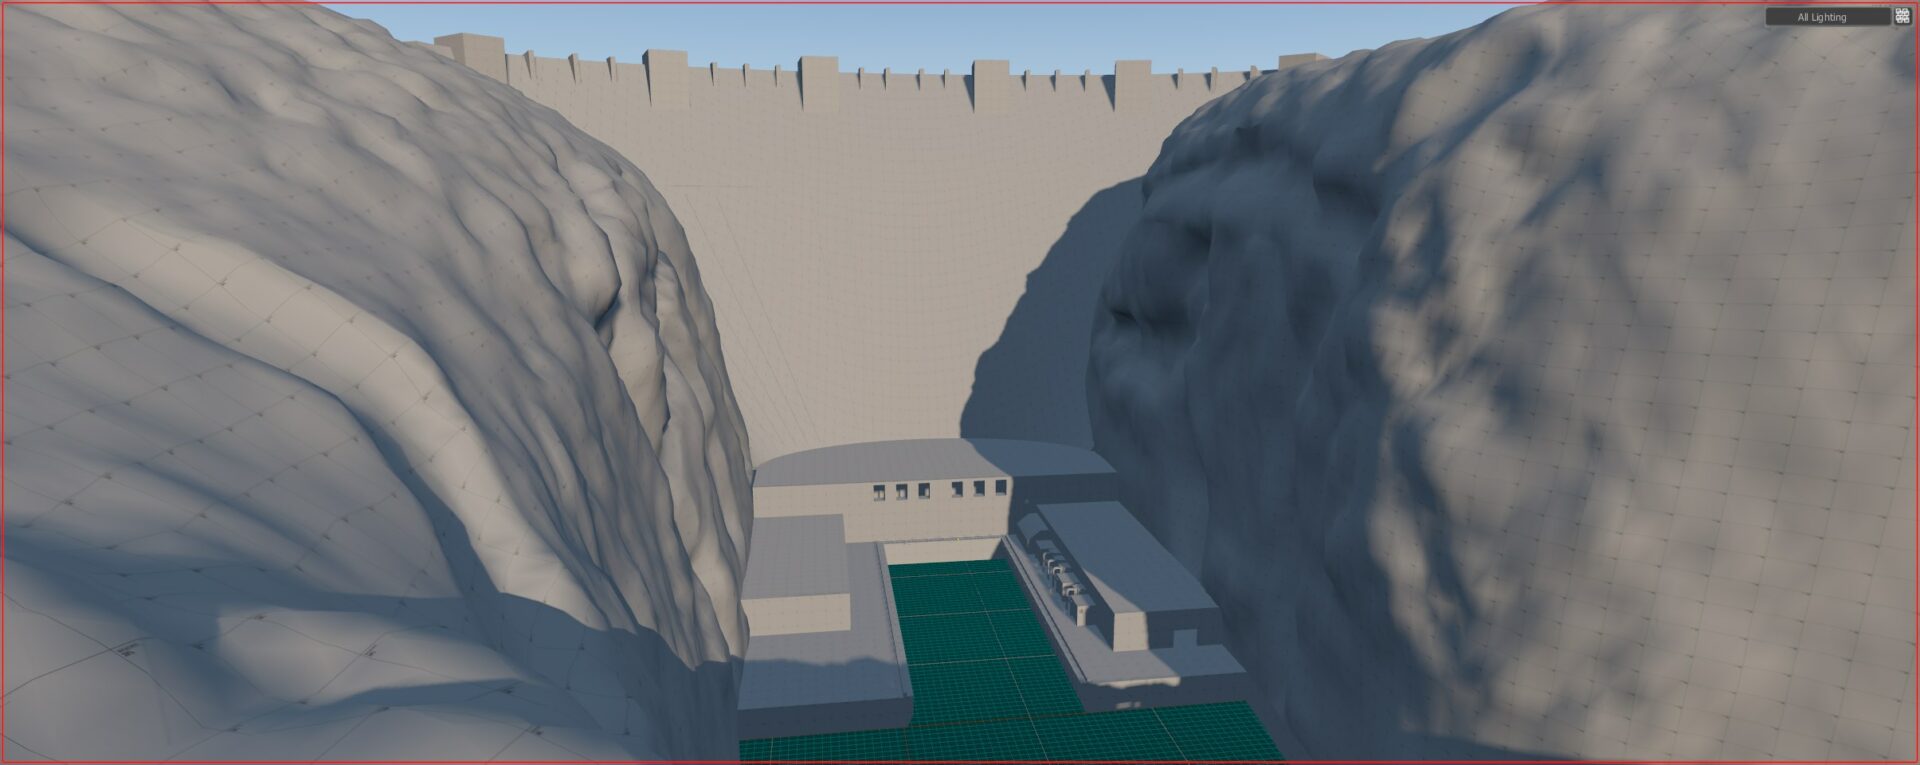
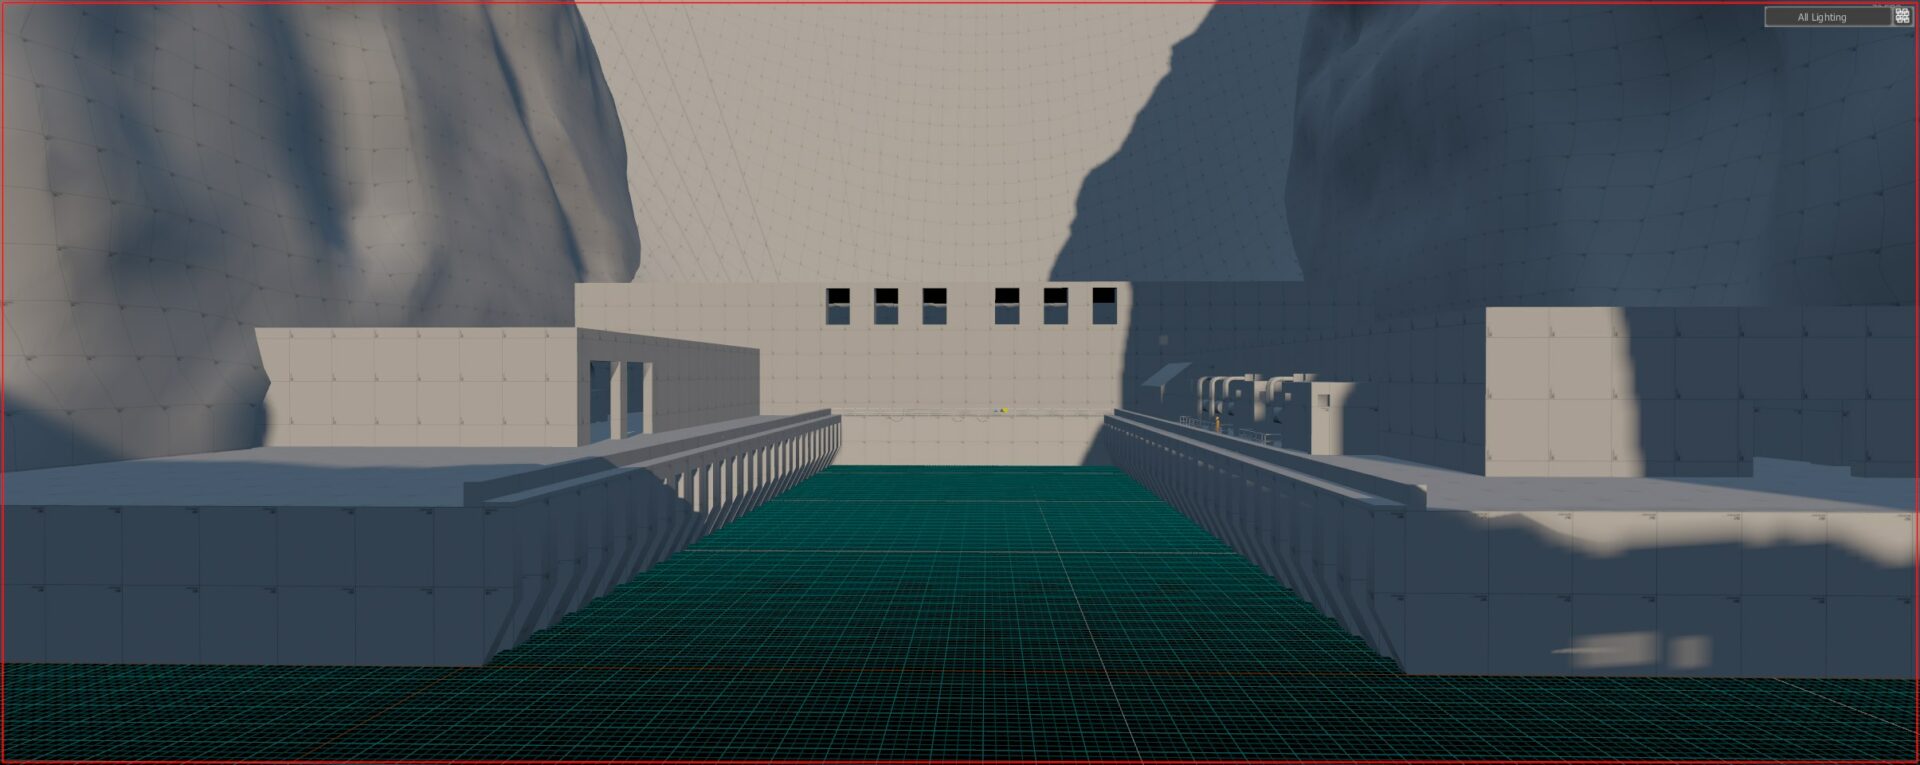
The map is still in the block out phase. There are three main interiors consisting of the turbine hall, an electrical room, and a parts/repair room.
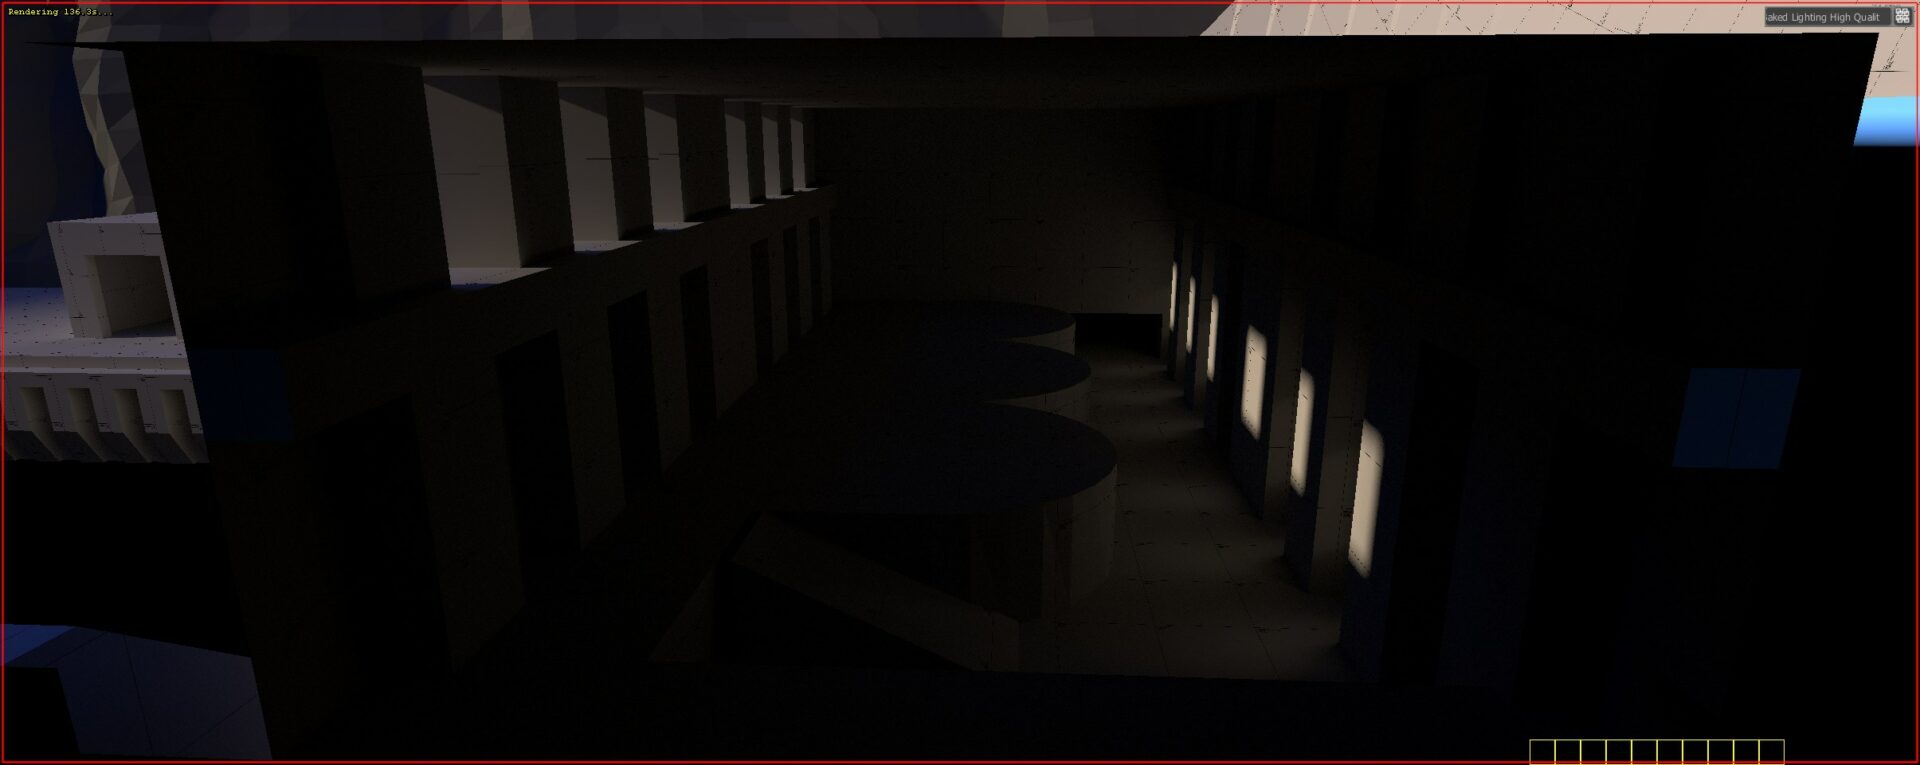
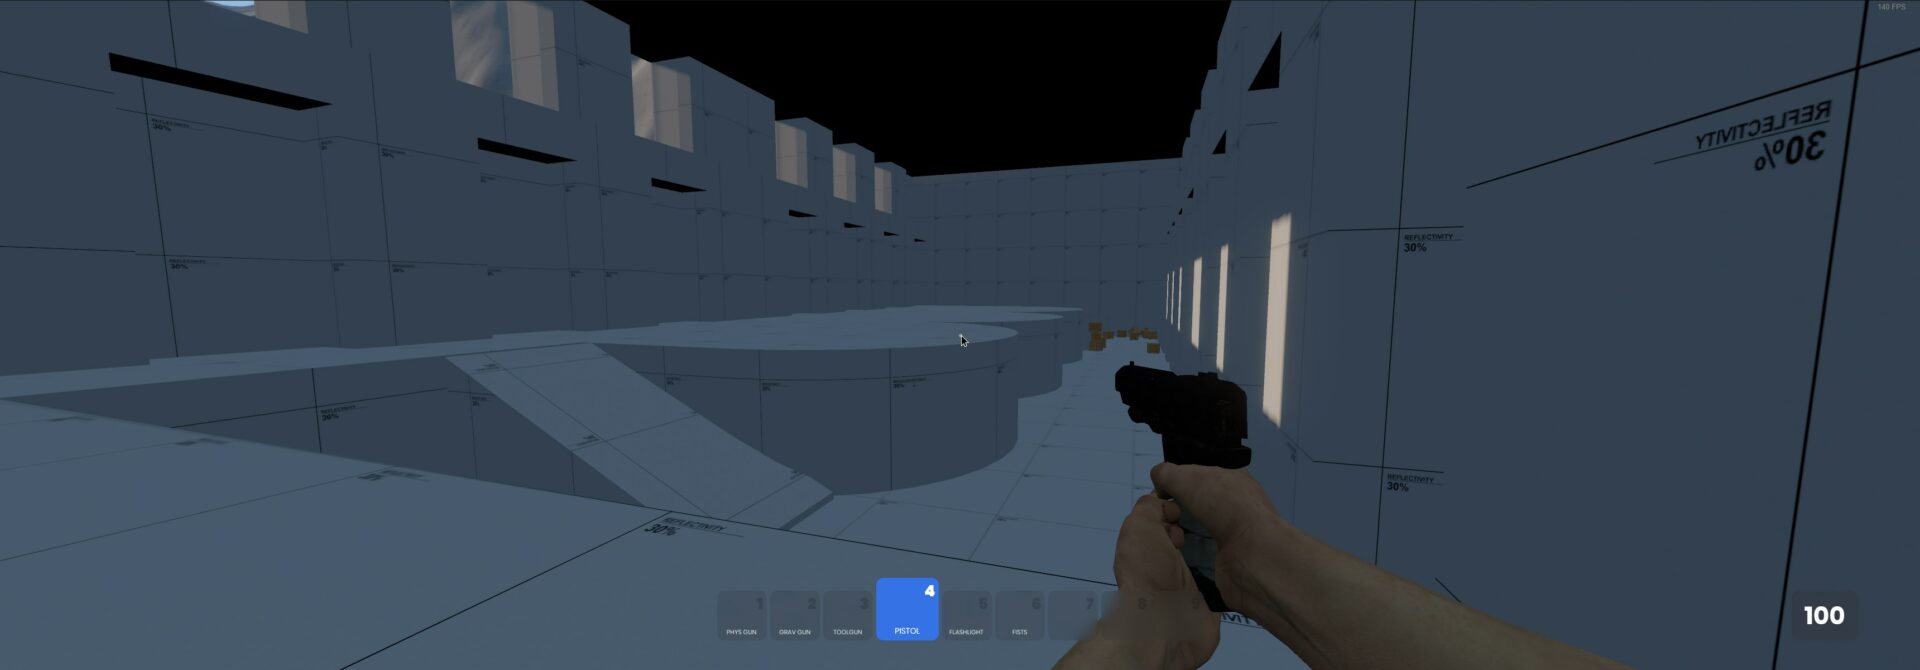
I am very happy with the scale and feel of the turbine room. I like the image of the large concrete pillars next to the spinning turbines. I also like the height different between both entrances on either side of the room.

I am less satisfied with the the two other buildings connected to the turbine hall. They are rather bland.
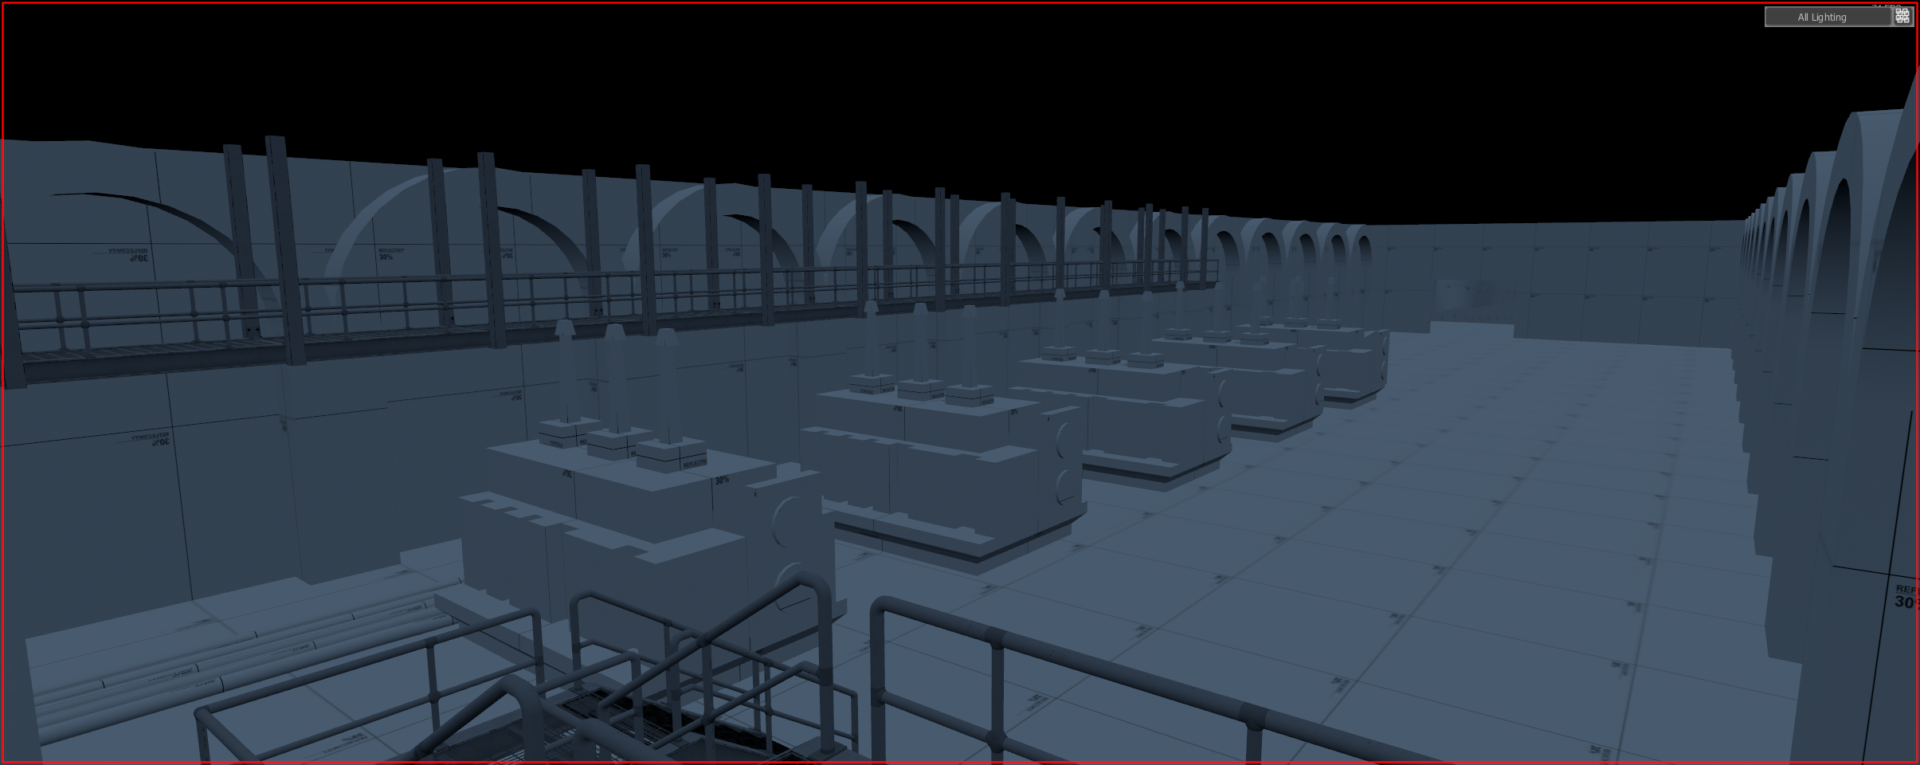
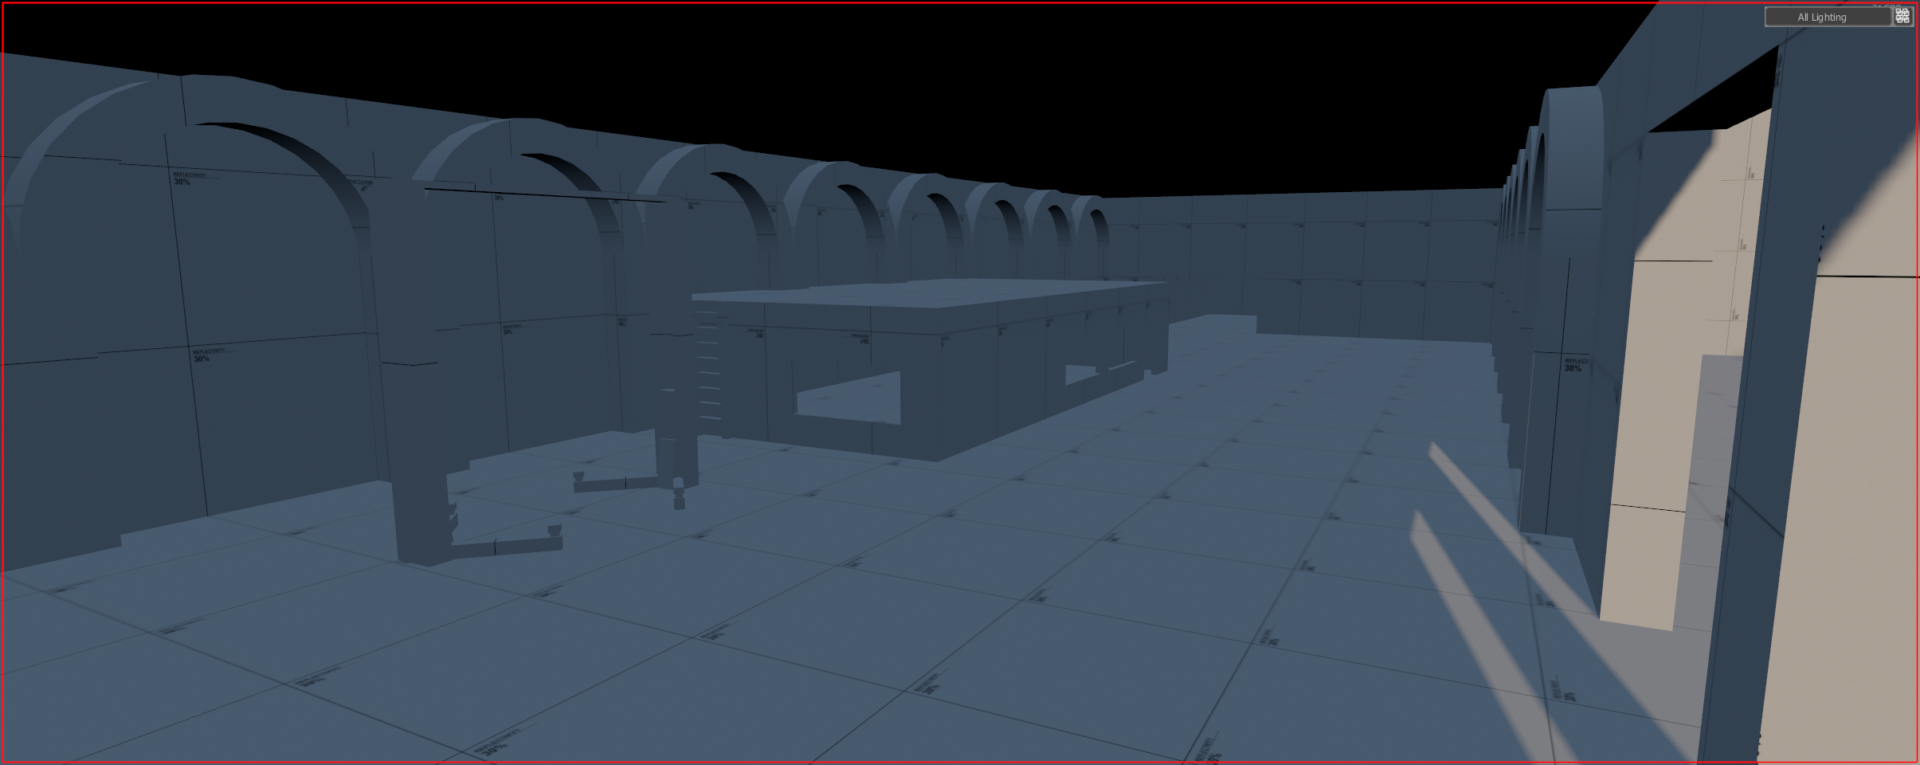
It is hard to determine why I dislike these two areas. Are there not enough interior elements? Are the curved pillars out-of-place? I am not sure. These two areas will need to be revisited.
Everything else
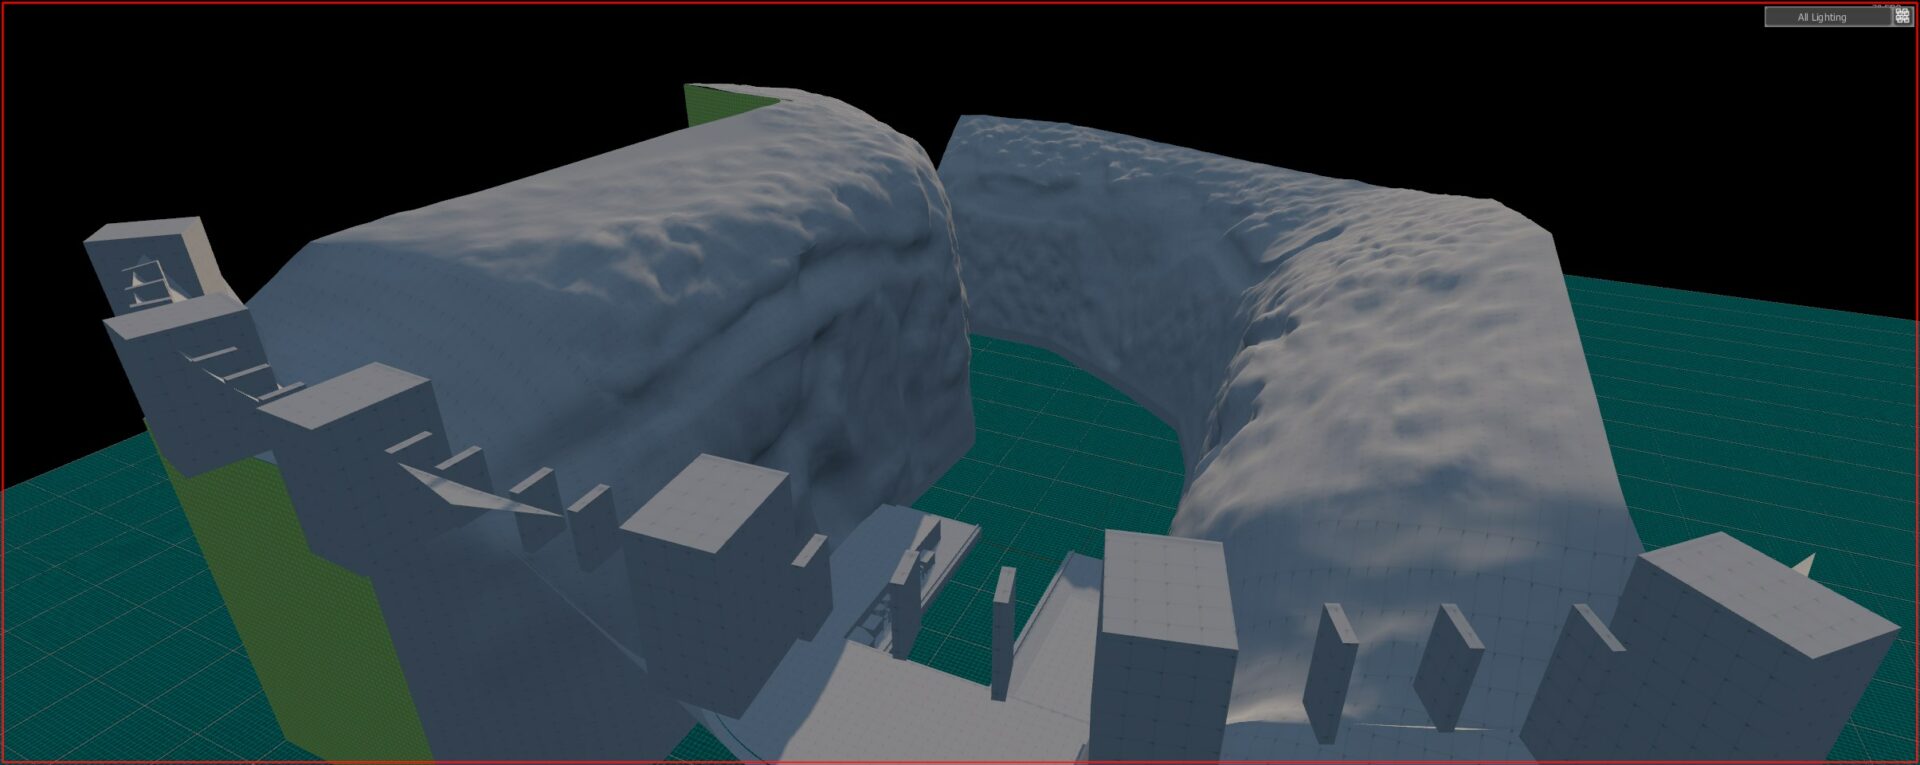
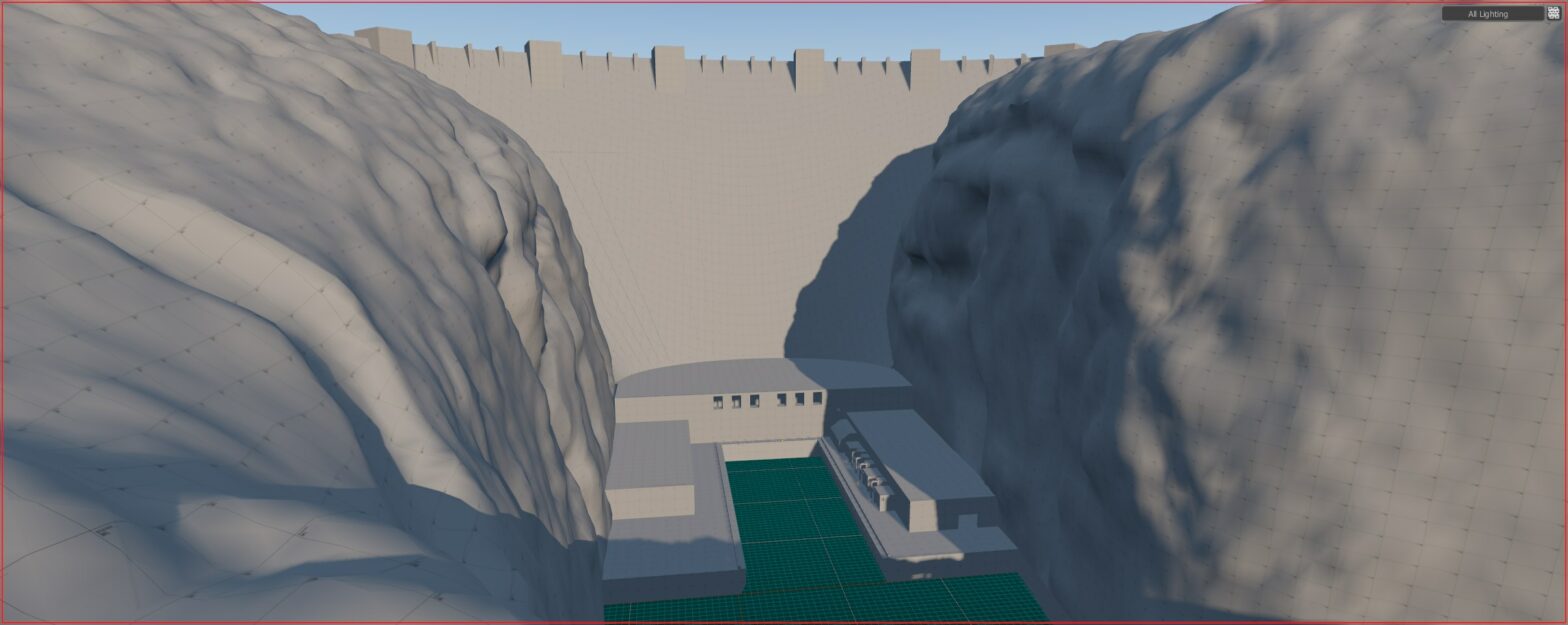
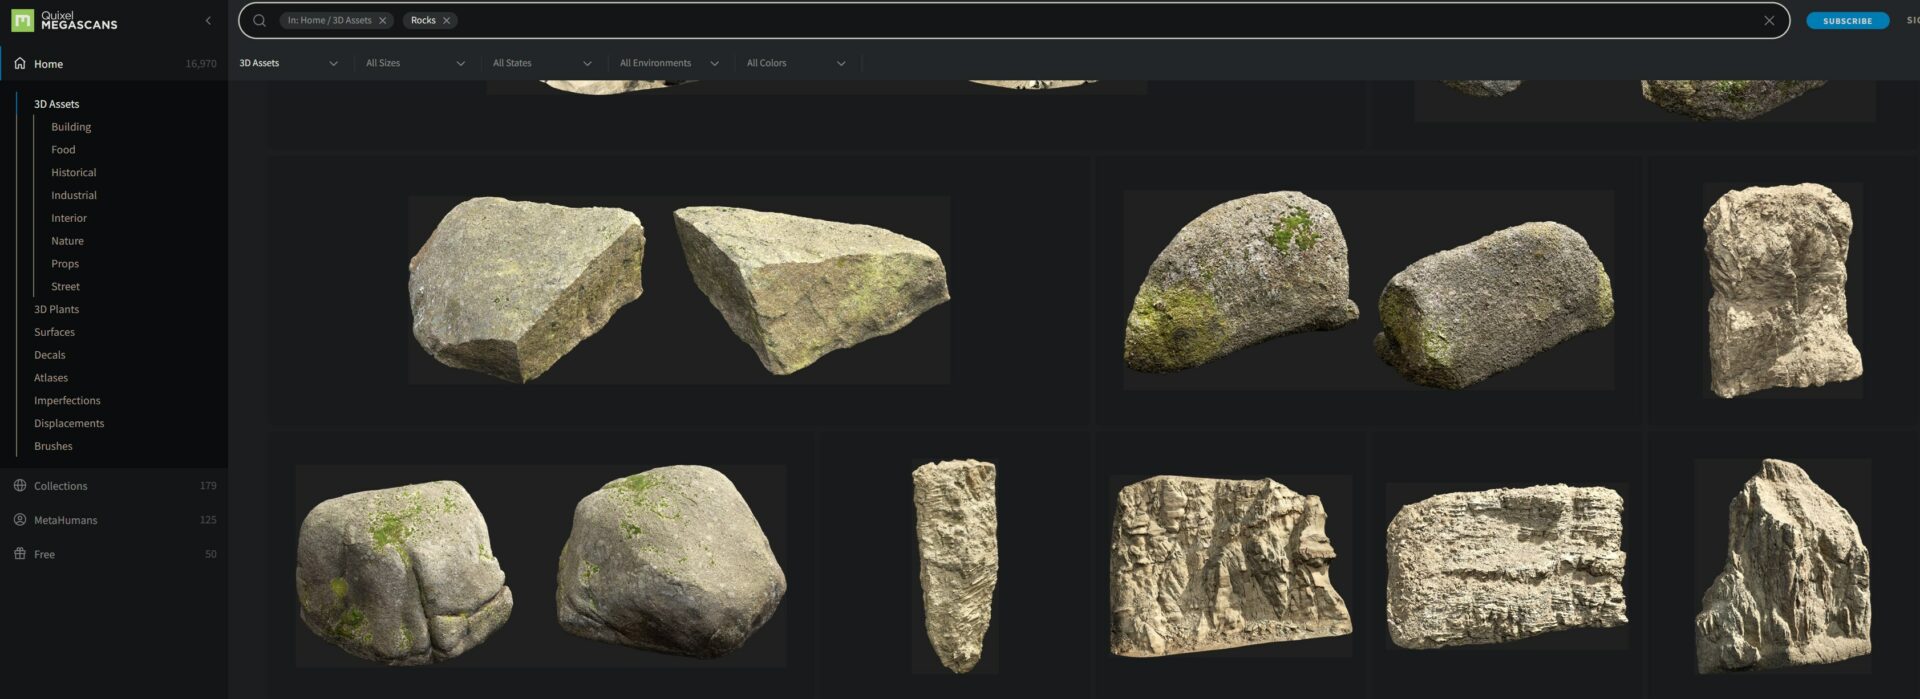
The surrounding cliffs were made in Hammer using the displacement tool. I think they are an OK placeholder, but in order to look more realistic, they will likely need rocks jutting out of the cliff side. Something similar to the large photo scanned rock sides from the Quixel Megascans library.
Lots of work ahead
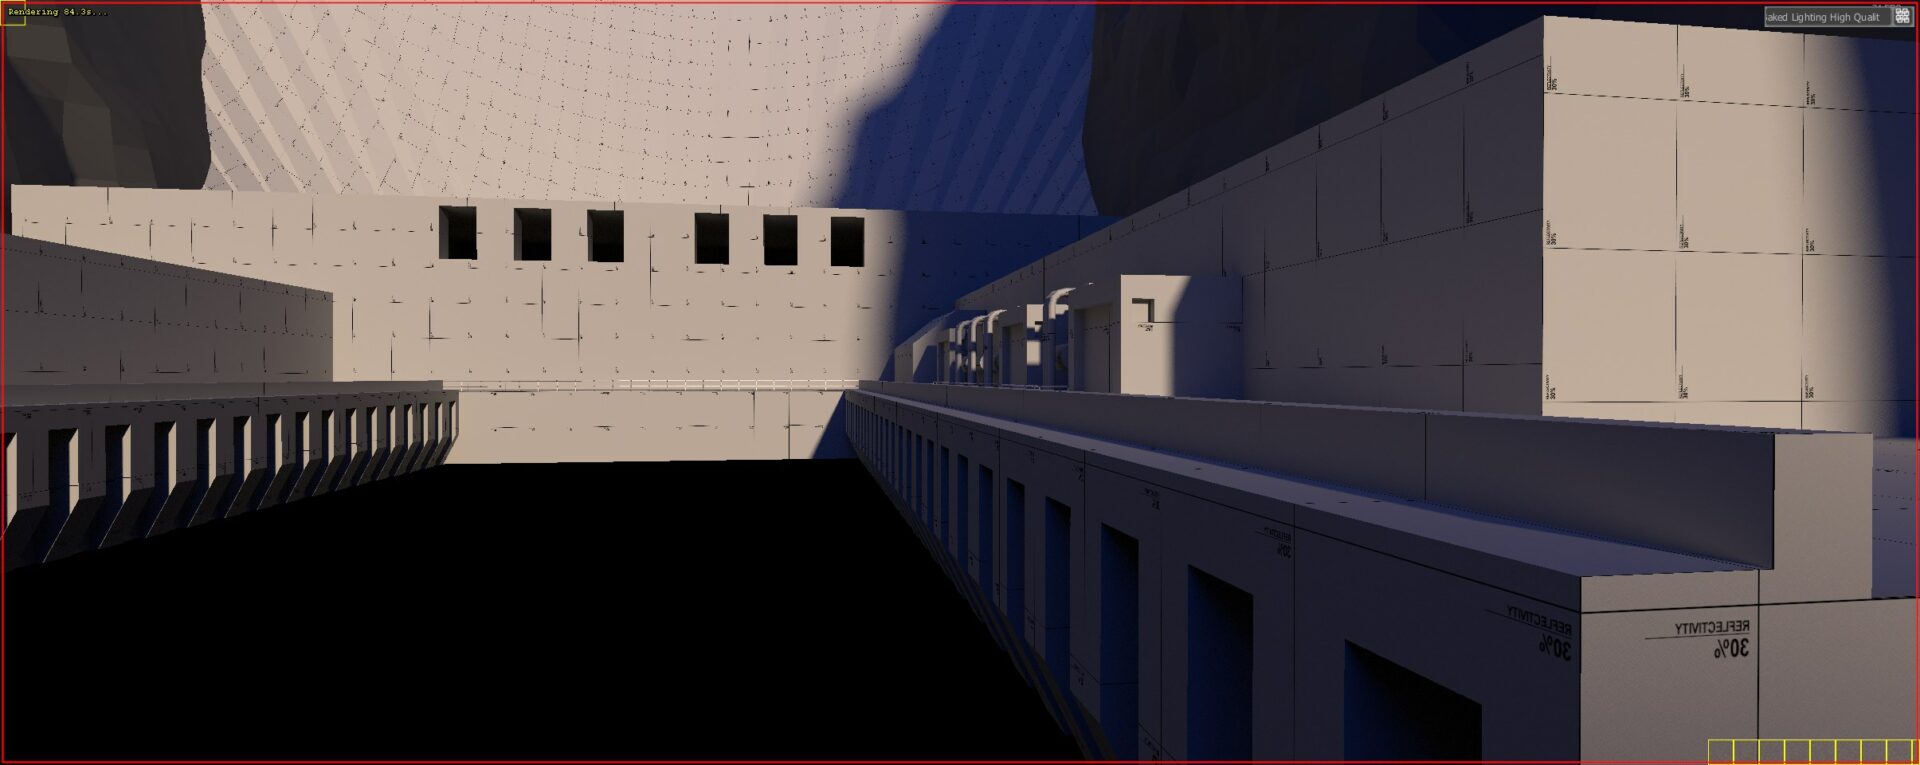
The map is probably 1/6th complete. Looking back, I should have gathered more reference photos. It would have helped a lot with proportions, room layout, purpose, etc. Either way, this map is a great learning experience for Hammer. The rest of this post will consist of random Hammer screenshots. Thanks for reading!
Hammer Time
